


|
|
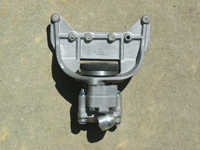
Our plan all along had been to move the 3-point lift from the 2a and
install it on the 3a. With the body at the paint shop, the time was
right. While the Newgren lift was designed as an aftermarket installation
it isn’t something you want to do often. We have gotten pretty
good at installing and uninstalling the lift, using two floor jacks
and cribbing. Jacking up the unit, which isn’t especially heavy
but awkward to handle, lying on your back, and moving the lift around
to allow inserting of the bolts took about 30 minutes. While we could
do it faster, but safety is an issue and we value our hands and fingers.
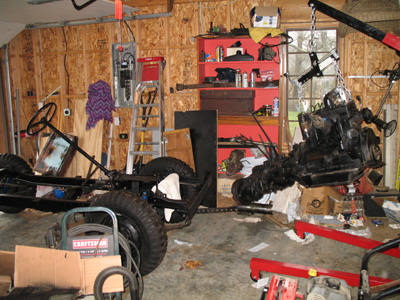
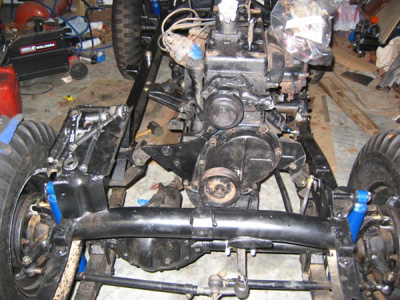
With the body off, we could reach through the frame and lift the Newgren
in to place. You can actually see how to align the bolt holes and the
process took no more than a couple of minutes. The installation will
never be this easy again.
Pumps, pumps everywhere
We now have a collection of hydraulic pumps, including 12 volt models
and two versions of Monarch belt driven “hi-lo” jeep pumps.
The latter two were sent off for seal replacement. We continue our search
for an original Newgren crankshaft driven pump. In the meantime, a NOS
(new-old-stock) Monroe pump appeared on e-bay. We broke open our piggy
banks and won the auction!
While we don’t know if the marriage (Newgren lift with a Monroe
pump) is historically accurate, we are hoping they are the combination
we have been seeking. We are having custom hydraulic lines built that
will run from the front of the engine to lift.
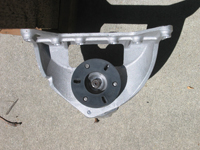
Pulleying my leg
Barry has had experience with crank driven pumps before, on older tractors
he has owned. When the new pump arrived, he went in search of the appropriate
“coupler” (sometimes referred to as a “lovejoy coupling”)
to mate the pump shaft to the crankshaft. His internet searching didn’t
turn up a ready solution. He finally remembered that he had purchased
a reproduction of a Monroe lift parts manual. A quick check showed that
a special pulley – made with tabs – was required and the
Willys part number was listed as well.
Off in search of another special part. However, a quick note to the
G503 board yielded a very pleasant surprise. The part number shown in
the manual was the standard equipment pulley from early in the 2a production
period on and was readily available. Our engine was an older model and
had a flat pulley face. Barry did a quick check of the 2a and sure enough,
it had the correct pulley with the three prongs. A new pulley was ordered
and installed.
On a historical note, Willys must have had plans for a number of crankshaft
driven devices or assumed that the addition of a hydraulic pump would
be a common option. This might warrant some more research.
Exhaustive research
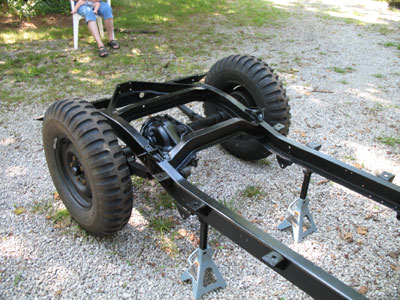
A requirement of a Newgren installation is the relocation of the muffler,
from under the bed to a driver’s side location. We had made this
change on the 2a, following the instructions on the original Newgren
installation documents. The cut we made placed the “hump”
in the pipe in front of the rear axle. The 2a’s exhaust pipe is
banged up and crushed where it passes over the axle. We choose to do
our own measurements this time.
We also moved the rear hanger and we hope this arrangement
will prove more durable.
A miraculous mounting
The body parts were painted within a week after we had dropped them
off and had been parked on a trailer in the barn. While we worked to
complete body-off projects, we couldn’t wait to get the tub on
the frame and to start the final reassembly. By now, we have some experience
in removing and installing tubs. The first tub removal involved my old
tractor with a front-end loader. We weren’t all that careful and
just lifted it off.
When we installed the new tub for the initial “fitting”,
we rigged a pulley system in the garage. It was not an easy process
and involved lots of lifting, pulling and tugging. Also, when we removed
the tub for painting, we scratched some paint on the steering column.
We wanted to be more careful with our freshly painted tub. So an improved
mounting method was needed.
Many of the restorations we had read about suggested four or five strong
bodies could place the tub without much difficulty. Timing was an issue
and when we were ready to mount the tub, we had three bodies and a dog
available. Evan had been working on a web sling design, using the tractor
again. It would allow us to easily tip and tilt the body while it was
suspended above the frame.
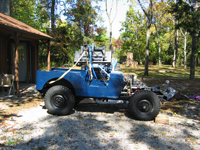
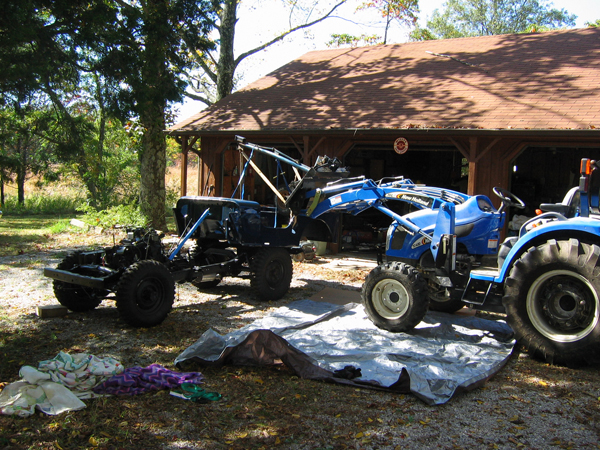
Barry’s late spring project had been to weld a 3 point hitch attachment
to a quick attach plate for his front end loader. He exchanged the front
bucket for the 3 point hitch and added a boom pole, to create a hydraulic
lift that would allow the tub to “float” above the frame.
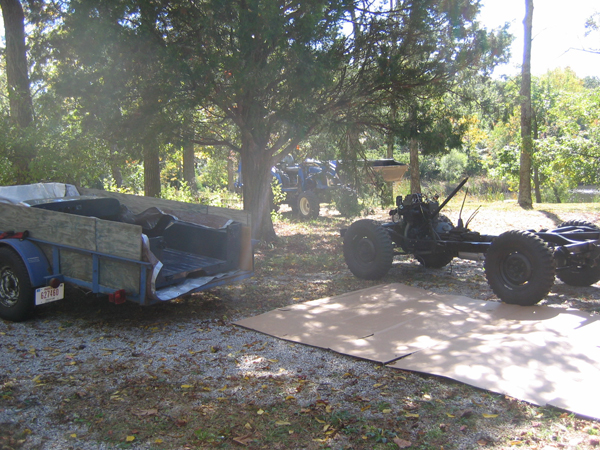
Evan and Barry unloaded the tub from the trailer and placed it on a
ground cloth. Evan fashioned his web sling and hooked it to the boom
pole. A test lift proved it was a good concept and we decided to give
it a try.
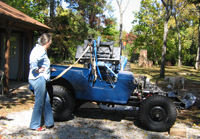
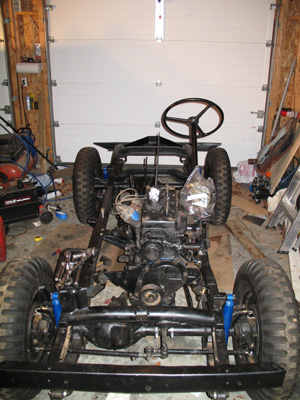
With Barry operating the tractor and Evan adjusted the tilt of the body
(made easy by the sling) and Paula steadied the front. Winnie (the dog)
wasn’t needed and just guarded his soccer ball. The tractor held
the weight of the tub and allowed for a very slow lowering as Evan made
sure of the initial alignment.
Once the steering column was inside the body, Evan pushed the frame
back as the tub was lowered. When the shift levers entered the opening,
the tub was gently lowered until it rested on the frame. Success!
Next up
A rebolting development
Barry's notes:
Evan's notes:
|
|


